Drug Paths & Professions
Choose your path, grow your empire. Three drug paths plus Jeweller and Chef professions with skill trees, gem socketing, and a full economy.
How It Works
The Drug Paths system is a multi-path progression economy where you commit to one of five professions for the wipe. Each path has unique mechanics, processing recipes, risk structures, and reward tiers. The goal: produce your goods, sell them to vending machines, and climb the ranks for Reward Points (RP).
The Jeweller path is a non-drug alternative. Instead of growing crops, jewellers mine ore nodes for gold nuggets, raw gems, and socket gems. Smelt nuggets in furnaces, polish gems and craft gold bars at the mixing table, then assemble rings, necklaces, and crowns to sell for RP. Jewellers also have exclusive access to gem socketing — inserting gems into armor for combat and gathering bonuses.
The Chef path is a non-combat profession. Gather rare ingredients, cook meals that buff allies, and sell dishes to other players. Chefs are the only path that can craft the exclusive Super Serum.
The Five Paths
Each of the three drug paths offers a unique production experience with different seed types, harvest yields, processing steps, reagent sources, fail chances, and RP payouts. The Jeweller path diverges entirely — no farming, pure mining and crafting with gem socketing. Casual players may prefer Weed's safety and simplicity or Jeweller's zero-fail model. Intermediate players gravitate toward Cocaine's balance. Hardcore players chase Heroin's highest payouts at maximum risk.
Step 2: 1 Coca Paste + 1 Boric Acid → 1 Cocaine Brick (6 min)
Step 2: 1 Raw Opium + 1 Acetic Anhydride → 1 Morphine Base (5 min)
Step 3: 2 Morphine Base → 1 Heroin Brick (7 min)
Starter Seeds & Cloning
When you commit to a drug path with /drugs, you receive 3 starter seeds. To expand your growing operation, you must clone them religiously. Cloning requires the customcrops.canclone permission and follows the gene system where each Y gene adds +1 bonus yield.
Skill Tree (/drugtree)
Access your skill tree with /drugtree (or /dt / /jt). You earn skill points by leveling up, and XP comes from selling your products at vending machines. There are 17 total skills distributed across paths. Invest in path-exclusive skills early to boost income and mitigate risk.
| Skill | Type | Max Rank | Effect per Rank |
|---|---|---|---|
| Drug Path Shared Skills (Weed, Cocaine, Heroin) | |||
| Crop Mastery | Shared (Drug Paths) | 2 | Rank 1: +1 bonus drop, Rank 2: +2 bonus drops |
| Quick Cook | Shared (Drug Paths) | 2 | Rank 1: 1.5x mixing speed, Rank 2: 2x mixing speed |
| Universal Shared Skills (All Paths) | |||
| Street Cred | Shared (All Paths) | 2 | Rank 1: +25% XP, Rank 2: +50% XP |
| Weed Exclusive Skills | |||
| Recycler | Weed | 3 | Rank 1: 15% recover 6 buds, Rank 2: 30%, Rank 3: 45% when pressing bricks |
| Hardy Plants | Weed | 3 | Rank 1: +1 clone, Rank 2: +2 clones, Rank 3: +3 extra clones per harvest |
| Cocaine Exclusive Skills | |||
| Pure Cut | Cocaine | 3 | Rank 1: 10% reagent refund + lower fail chance, Rank 2: 20%, Rank 3: 30% + immunity to failure |
| Supplier | Cocaine | 3 | Rank 1: 10% bonus Coca Paste, Rank 2: 20% chance, Rank 3: 30% free intermediate step |
| Heroin Exclusive Skills | |||
| Lab Efficiency | Heroin | 3 | Rank 1: 10% reagent bonus + lower fail chance, Rank 2: 20%, Rank 3: 30% + immunity to failure |
| Batch Cook | Heroin | 3 | Rank 1: 10% bonus Morphine Base, Rank 2: 20% chance, Rank 3: 30% free intermediate step |
| Jeweller Exclusive Skills | |||
| Prospector | Jeweller | 3 | +2.5% ruby/emerald, +2% diamond per rank (flat bonus, not multiplicative) |
| Master Smelter | Jeweller | 3 | Rank 1: 15% bonus Gold Bar, Rank 2: 30%, Rank 3: 45% bonus bar when smelting |
| Lapidary | Jeweller | 3 | Rank 1: 10% gem refund, Rank 2: 20%, Rank 3: 30% chance to refund raw gem when polishing |
| Mythic Strike | Jeweller | 3 | Rank 1: 2% chance, Rank 2: 4%, Rank 3: 6% that a raw gem drops pre-polished from a node |
| Lucky Craft | Jeweller | 3 | Rank 1: 5% bonus item, Rank 2: 10%, Rank 3: 15% when crafting jewellery |
| Chef Exclusive Skills | |||
| Speed Cook | Chef | 3 | Rank 1: 15% faster cook time, Rank 2: 30%, Rank 3: 45% faster cook time |
| Meal Potency | Chef | 3 | Rank 1: +15% buff duration, Rank 2: +30%, Rank 3: +50% buff duration on cooked meals |
| Bulk Prep | Chef | 3 | Rank 1: 10% chance for bonus meal, Rank 2: 20%, Rank 3: 30% chance for bonus meal when cooking |
The XP Curve & Leveling
There are 25 levels total. XP required scales exponentially, rewarding early-wipe grinders but requiring massive commitment for max level. Casual players typically reach levels 15–16 in a 2-week wipe. Hardcore players can max out by day 7–8 with intensive farming.
| Level | Total XP Needed | Playstyle Benchmark |
|---|---|---|
| 1 | 0 | Starting point |
| 5 | 1,000 | ~2–3 hours casual play |
| 10 | 4,100 | ~1 day moderate grind |
| 15 | 12,500 | ~4–5 days (wipe plateau for casuals) |
| 20 | 36,000 | ~8–10 days hardcore farming |
| 25 | 78,000 | ~7–8 days non-stop (hardcore max) |
Risk & Fail Mechanics
Weed has 0% failure — pure safety. Cocaine introduces 10% failure: 1 in 10 mixing attempts destroys the brick and all inputs. Heroin escalates to 15% failure. Jeweller and Chef have 0% failure. This risk/reward structure forces strategic decision-making and makes fail-mitigation skills critical for high-volume production on riskier paths.
How Failure Works: When a mix fails, the brick is destroyed and all inputs (bud/leaves/resin + reagent) are lost. You gain no XP and receive no RP. The only counter is investing in Pure Cut (Cocaine) or Lab Efficiency (Heroin) to reduce or eliminate failure entirely.
Reagent Sources
Each drug path requires specific reagents for processing. These drop from predefined loot crates with varying chances and quantities. Plan raids accordingly and build reagent stockpiles to ensure uninterrupted production.
| Reagent | Used By | Source | Drop Chance | Quantity |
|---|---|---|---|---|
| Alchemical Solvent | Weed | Bradley APC crates | 50% | 1–2 |
| Boric Acid | Cocaine | Patrol Helicopter crates | 50% | 1–2 |
| Acetic Anhydride | Heroin | BotReSpawn NPCs & Drone crates | 20% | 1 |
| Hackable Crates: All three reagents can drop from hackable crates (50% chance, weighted random selection) | ||||
Jeweller Mining Drops
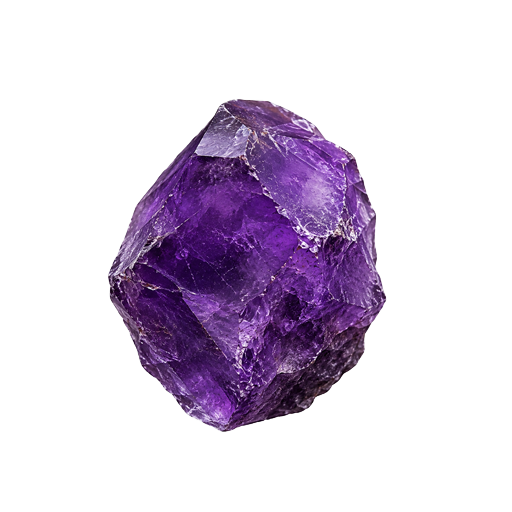
Jewellers receive exclusive drops when mining ore nodes. These include Gold Nuggets for smelting and crafting, Raw Gems (Ruby, Emerald, Diamond) for polishing into jewellery, and Socket Gems (Chipped tier) that can be inserted into armor via the /jewel workshop. Drop rates vary by node type — metal nodes are the most generous overall.
| Drop | Stone Ore | Metal Ore | Sulfur Ore |
|---|---|---|---|
| Gold & Raw Gems (Jewellery Crafting) | |||
| Gold Nugget | 18% (x1) | 25% (x1–2) | 20% (x1) |
| Raw Ruby | 2% | 2.5% | 2% |
| Raw Emerald | 2% | 2.5% | 2% |
| Raw Diamond | 1% | 1% | 1.5% |
| Socket Gems (Chipped Tier — Armor Inserts) | |||
 Chipped Amethyst (+ore gather) Chipped Amethyst (+ore gather) | — | 3.5% | 3% |
 Chipped Jade (+wood gather) Chipped Jade (+wood gather) | — | 3.5% | 3% |
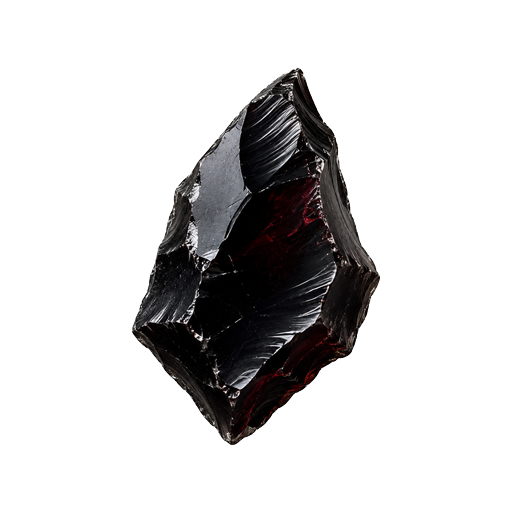 Chipped Obsidian (+drone/heli dmg) Chipped Obsidian (+drone/heli dmg) | — | 2.5% | 2.2% |
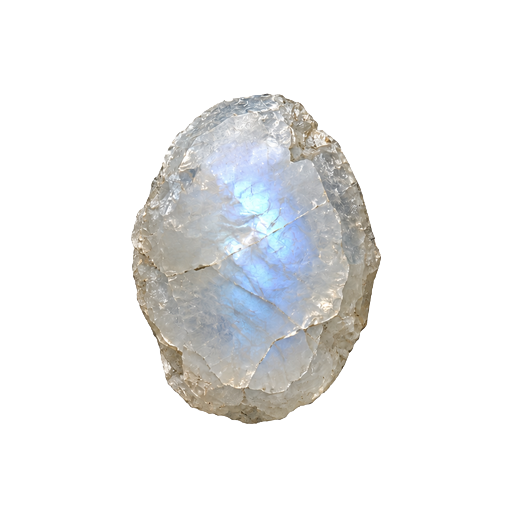 Chipped Moonstone (+NPC dmg) Chipped Moonstone (+NPC dmg) | — | 2% | 1.8% |
 Chipped Sapphire (+raid dmg) Chipped Sapphire (+raid dmg) | — | 1.8% | 1.6% |
Gem Socketing (/jewel)
Gem socketing is a Jeweller-exclusive system that lets you insert gems into armor inserts for permanent combat and gathering bonuses. Gems are placed into your equipped armor via the /jewel workshop GUI. Each armor piece has one gem slot — one gem per slot, and each gem provides a percentage-based buff that stacks across all your equipped pieces.
The Five Gem Types
Each gem type provides a different buff. The buff percentage scales with tier — Chipped gives +1%, Polished gives +2%, Flawless gives +3% per gem. Bonuses from all socketed gems stack additively across your equipped armor.
→
 →
→
 →
→
 →
→
 →
→
 →
→
 →
→
 →
→
 →
→
 →
→

Gem Tiers & Upgrading
Socket gems drop as Chipped (Tier 1) from mining. Upgrade them at the mixing table to increase their buff power. Each upgrade recipe combines multiple gems of the current tier into one gem of the next tier.
| Tier | Example | Buff Per Gem | How to Get |
|---|---|---|---|
| Chipped ★ | | +1% | Drops from metal & sulfur ore nodes |
| Polished ★★ | | +2% | Upgrade at mixing table (Chipped → Polished) |
| Flawless ★★★ | | +3% | Upgrade at mixing table (Polished → Flawless) |
Workshop Controls
Open the gem workshop with /jewel. The GUI shows all your equipped armor pieces with their current gem status. From here you can:
| Action | How | What Happens |
|---|---|---|
| Insert Gem | Click an empty armor slot → pick a gem from your inventory | Gem is placed into the slot. Buff applies immediately. |
| Remove Gem | Click the ✕ button on a socketed gem | Gem is destroyed and the slot is freed. You do not get the gem back. |
| Replace Gem | Click REPLACE on a socketed gem → pick the new gem | Old gem is destroyed, new gem takes its place. One action. |
Commands
| Command | Description |
|---|---|
| /drugs | Open the path selection menu. Choose Weed, Cocaine, Heroin, Jeweller, or Chef. This path choice lasts the entire wipe (respec available once for 10,000 RP). |
| /jeweller | Open the path menu (same as /drugs). Convenient alias for Jeweller players. |
| /drugtree | Open your skill tree. View available skills, current ranks, and skill points. Invest points to level up skills. |
| /jt | Open the skill tree (same as /drugtree). Quick shortcut. |
| /dt | Shorthand for /drugtree. Works for all paths. |
| /drugs claim | Claim 3 free seed packs for your path once every 24 hours. Not available for Jeweller or Chef players. |
| /drugtop | View the leaderboard. See the top 10 dealers ranked by total XP earned this wipe. |
| /jewel | Open the Gem Socket workshop (Jeweller only). Insert, remove, or replace gems in your equipped armor. |
| /recipemenu | Open the cooking menu (Chef only). Browse recipes, cook meals with gathered ingredients. |